Scala: sbt-assembly を使う
Scala プロジェクト全体の jar ファイルを作るツールは色々あるが
ここ最近は sbt-assembly がデファクトスタンダードの座を確立したという感が強い。
導入
- project/assembly.sbt の作成
README に従い、以下の内容をのファイルを project/assembly.sbt として保存する。
addSbtPlugin("com.eed3si9n" % "sbt-assembly" % "0.11.2") - Build.scala の編集
build.sbt ではなく project/Build.scala に sbt の設定を書く場合の例。
インポート文を以下のように書き、Project の settings に assemblySettings を追加する。import sbt._ import sbt.Keys._ import sbtassembly.Plugin._ import AssemblyKeys._ object Build extends Build { lazy val buildSettings = Seq( organization := "your.organization", version := "0.1.0", scalaVersion := "2.11.2", scalacOptions ++= Seq( "-encoding", "utf-8", "-target:jvm-1.7", "-deprecation", "-unchecked", "-Xlint", "-feature" ), javacOptions ++= Seq( "-encoding", "utf-8", "-source", "1.7", "-target", "1.7" ) ) lazy val dependencySettings = Seq( resolvers ++= Seq( // your resolvers ), libraryDependencies ++= Seq( // your library dependencies ) ) // configure prompt to show current project override lazy val settings = super.settings :+ { shellPrompt := { s => s"${Project.extract(s).currentProject.id}> " } } lazy val root = Project( id = "projectname", base = file("."), settings = super.settings ++ buildSettings ++ dependencySettings ++ assemblySettings ) }プロンプト文字列を変える設定は、spray/Build.scala at master · spray/spray から拝借した。
実行
sbt プロンプトの中で assembly と打つだけ。
projectname> assembly
OS のシェルから実行する場合は
$ sbt assembly
target/scala-X.X/projectname-assembly-X.X.X.jar が作成される。
jar ファイルの実行例
$ java $JAVA_OPTIONS -jar target/scala-X.X/projectname-assembly-X.X.X.jar
コンフリクトの解決
sbt-assembly に限らないが、jar 作成にあたって大半の時間は「依存関係スパゲッティ」との格闘に奪われる。
application.conf
例えば、複数プロジェクトでそれぞれ別の application.conf を利用している場合、デフォルトでは以下のようなエラーが出る。
java.lang.RuntimeException: deduplicate: different file contents found in the following:
application.conf
application.conf
        at sbtassembly.Plugin$Assembly$.sbtassembly$Plugin$Assembly$$applyStrategy$1(Plugin.scala:253)
        at sbtassembly.Plugin$Assembly$$anonfun$15.apply(Plugin.scala:270)
        at sbtassembly.Plugin$Assembly$$anonfun$15.apply(Plugin.scala:267)

*snip*

[error] (projectname/*:assembly) deduplicate: different file contents found in the following:
[error] application.conf
[error] application.conf
この場合、適切な mergeStrategy を作りこむ必要がある。
例えば、以下のように。
MergeStrategy.concat を指定すれば、application.conf という名前のファイルはその内容が全て結合される。
  lazy val assemblyAdditionalSettings = Seq(
    mergeStrategy in assembly ~= { (old) => {
      case "application.conf" => MergeStrategy.concat
      case x => old(x)
    }
    }
  )

  lazy val root = Project(
    id = "projectname",
    base = file("."),
    settings = super.settings ++ buildSettings ++
      dependencySettings ++ assemblySettings ++ assemblyAdditionalSettings
  )
同様のファイルが複数あるなら、以下のように指定すればよい。
case "application.conf" | "settings.conf" => MergeStrategy.concat
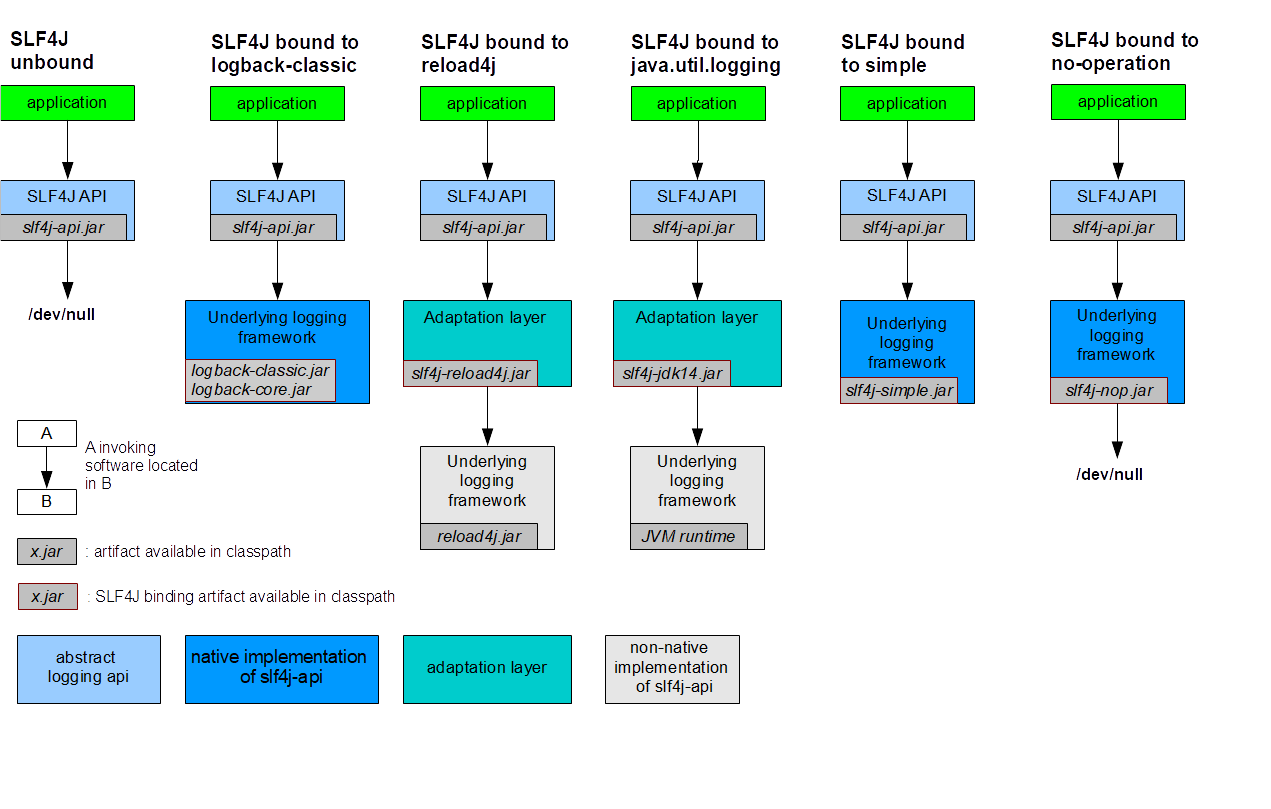
slf4j + logback
例えば、libraryDependencies に以下のように記述すると、assembly 実行時に class ファイルのコンフリクトが発生する。
      "ch.qos.logback" % "logback-classic" % "1.1.2",
      "org.slf4j" % "slf4j-simple" % "1.7.7",
      "org.slf4j" % "slf4j-api" % "1.7.7",
      "org.slf4j" % "slf4j-ext" % "1.7.7",
[error] (projectname/*:assembly) deduplicate: different file contents found in the following:
[error] /Users/xxxxxx/.ivy2/cache/ch.qos.logback/logback-classic/jars/logback-classic-1.1.2.jar:org/slf4j/impl/StaticLoggerBinder.class
[error] /Users/xxxxxx/.ivy2/cache/org.slf4j/slf4j-simple/jars/slf4j-simple-1.7.7.jar:org/slf4j/impl/StaticLoggerBinder.class
- そもそも、必要なライブラリは何かを確認
上記の例の場合、そもそも logback-classic と slf4j-simple を両方使っているのが間違い。
slf4j-simple の記述を消せばよい。 => 参考 - 依存ライブラリの除外設定
複数のライブラリが、バージョンの異なる同じライブラリに依存している場合、libraryDependencies に exclude を指定する。
Exclude specific transitive depslibraryDependencies ++= Seq( ("org.apache.spark" %% "spark-core" % "0.8.0-incubating"). exclude("org.mortbay.jetty", "servlet-api"). exclude("commons-beanutils", "commons-beanutils-core"). exclude("commons-collections", "commons-collections"). exclude("commons-collections", "commons-collections"). exclude("com.esotericsoftware.minlog", "minlog") ) - それでもダメなら、mergeStrategy に手を付ける
パスに対してパターンマッチを適用し、適切なマージ方法を設定。
mergeStrategy in assembly <
  {
    case PathList("javax", "servlet", xs @ _*)         => MergeStrategy.first
    case PathList(ps @ _*) if ps.last endsWith ".html" => MergeStrategy.first
    case "application.conf" => MergeStrategy.concat
    case "unwanted.txt"     => MergeStrategy.discard
    case x => old(x)
  }
}
その他の便利設定
テスト中は assembly を無効に
test in assembly := {}
エントリポイントの指定
明示したほうが可読性が上がりそう。
mainClass in assembly := Some("your.app.Boot")
scala-library を含めない
jar ファイルをダイエットさせたい場合。
assemblyOption in assembly ~= { _.copy(includeScala = false) }
ただ scala-library.jar 自体は 6MB 程度しかないので、含めておいたとしてもそんなに気にならないと思う。
最終的にはこのような形になった。
import sbt._
import sbt.Keys._
import sbtassembly.Plugin._
import AssemblyKeys._

object Build extends Build {
  lazy val buildSettings = Seq(
    organization := "your.organization",
    version := "0.1.0",
    scalaVersion := "2.11.2",
    scalacOptions ++= Seq(
      "-encoding", "utf-8",
      "-target:jvm-1.7",
      "-deprecation",
      "-unchecked",
      "-Xlint",
      "-feature"
    ),
    javacOptions ++= Seq(
      "-encoding", "utf-8",
      "-source", "1.7",
      "-target", "1.7"
    )
  )

  lazy val dependencySettings = Seq(
    resolvers ++= Seq(
      // your resolvers
    ),
    libraryDependencies ++= Seq(
      // your library dependencies
    )
  )

  lazy val assemblyAdditionalSettings = Seq(
    test in assembly := {},
    mainClass in assembly := Some("your.app.Boot"),
    mergeStrategy in assembly ~= { (old) => {
      case "application.conf" => MergeStrategy.concat
      case x => old(x)
    }
    }
  )

  // configure prompt to show current project
  override lazy val settings = super.settings :+ {
    shellPrompt := { s => s"${Project.extract(s).currentProject.id}> " }
  }

  lazy val root = Project(
    id = "projectname",
    base = file("."),
    settings = super.settings ++ buildSettings ++
      dependencySettings ++ assemblySettings ++ assemblyAdditionalSettings
  )
}